Simple Homemade Baked Fries

0

Lately, I’ve tried about a million, okay maybe just five, homemade french fry recipes. They all require soaking the potatoes in water for six years, flipping them seven times during baking, or adding twelve different spices. Too much hassle for this girl. So…I took things into my own hands and just kinda made something up. Go head, call me a chef.

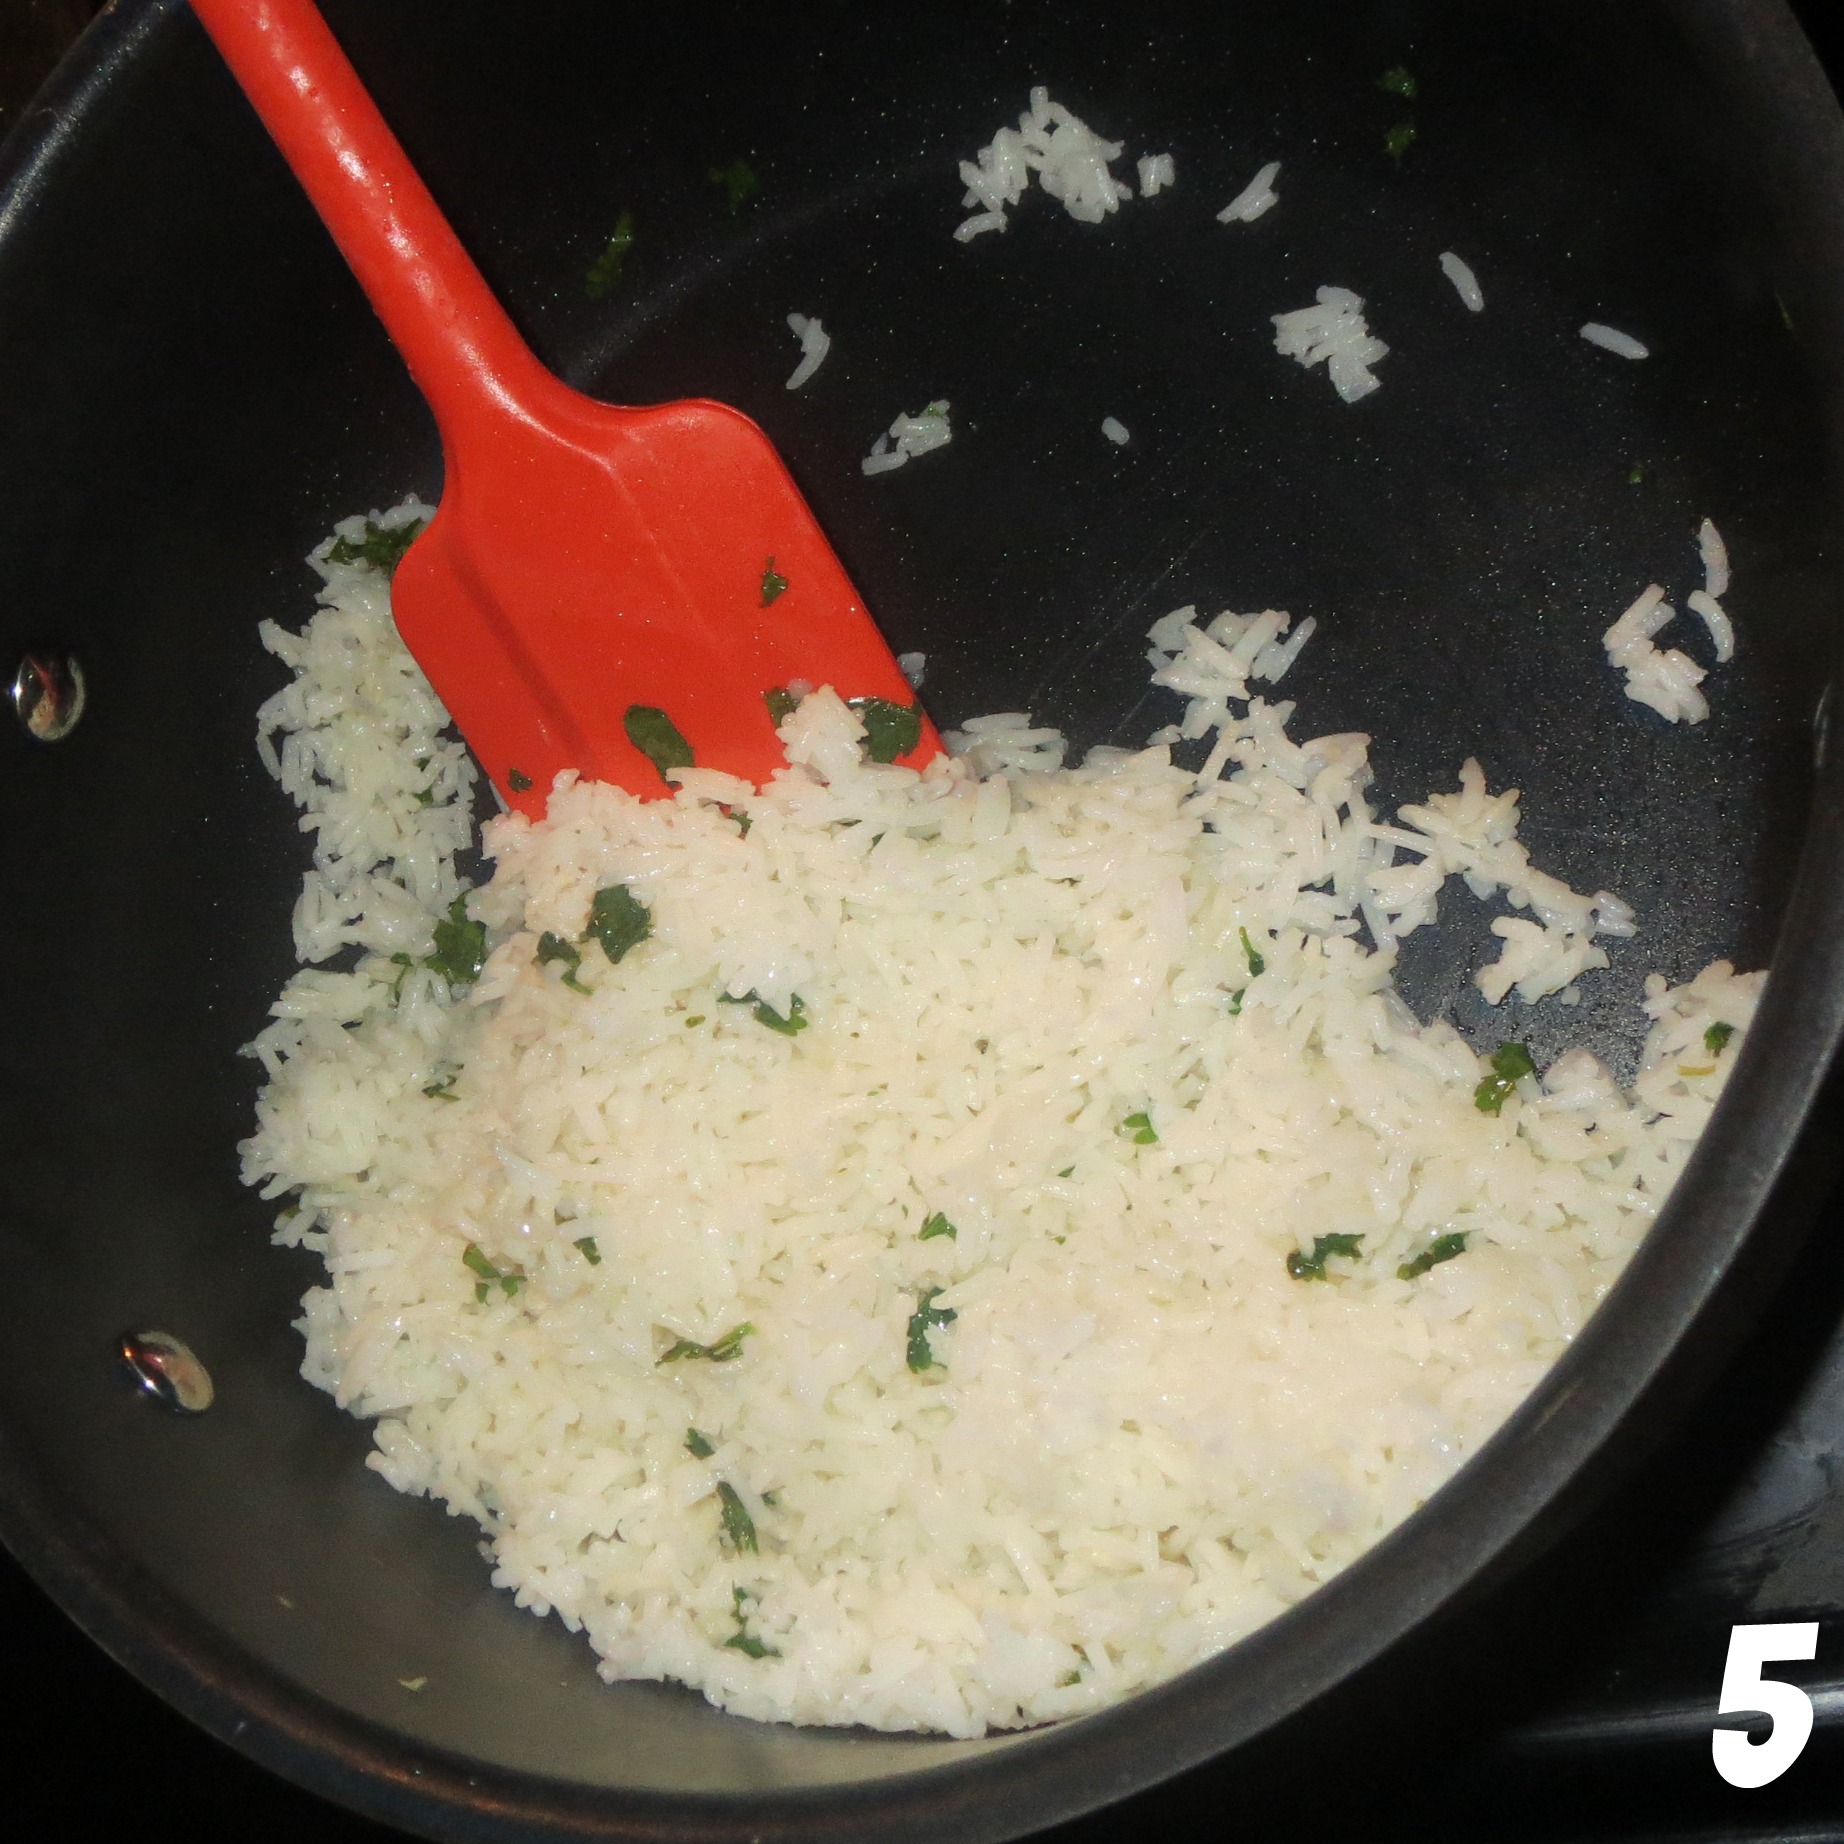
You may be thinking, “Anyone can bake fries.” Maybe someone can’t though! I’ve had to look up a surprising amount of things since I got married that I just thought for some reason I knew. Like making mashed potatoes or cooking a pot of rice! Some things are harder than they sound when you’re trying them for the first time! Thankfully, this recipe isn’t.

You only need a few ingredients:

2-3 Russet Potatoes (3 makes the perfect amount for myself and my husband, but feel free to make as many/few as you need!)

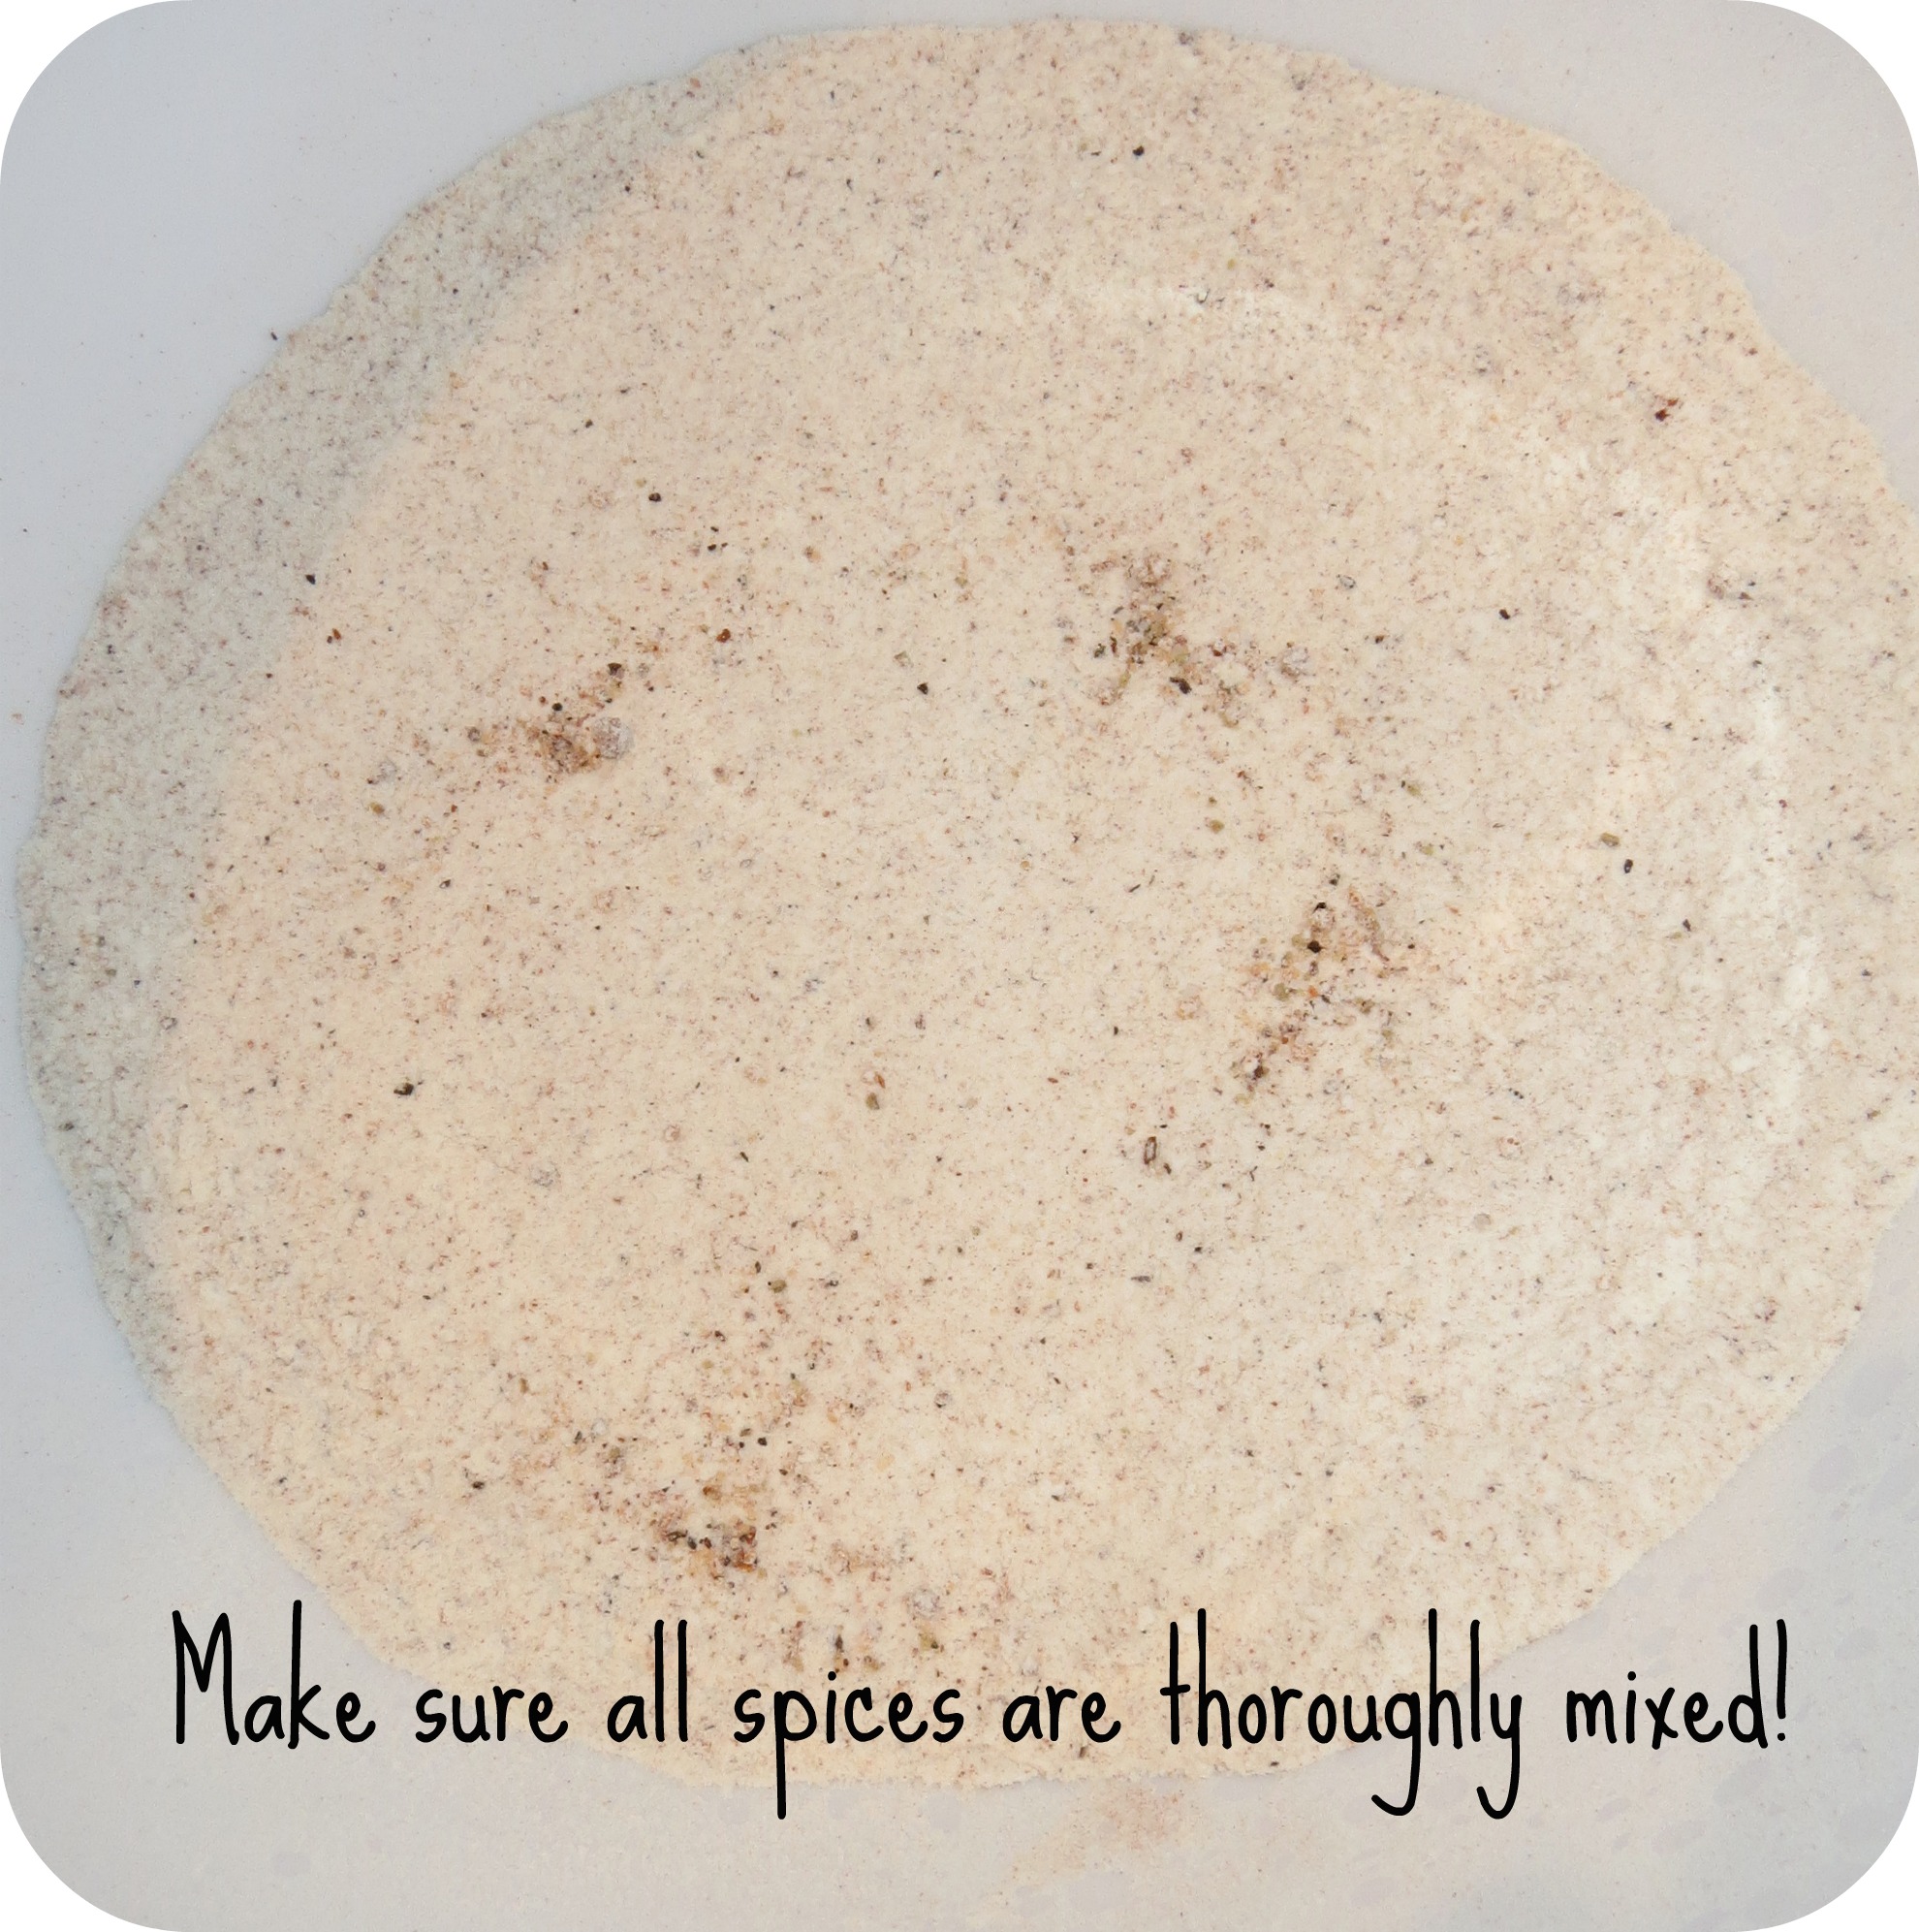
3/4 tsp Kosher Salt (I’ve used regular table salt too…I doubt it matters either way)

1/4 tsp Ground Black Pepper

2 tbsp Olive Oil

1

First, peel and wash your potatoes. Also, go ahead and preheat your oven to 400 degrees.

2

Then, cut your potatoes into “fries.” I typically slice mine in about 1/2″ sections and then cut those slices into quarters.

3 4

After your potatoes are all cut up, toss them in a gallon ziploc bag. Pour in some Olive Oil (about 2 tbsp…just enough to coat them), and shake the bag to evenly cover all of your potatoes.

5

Next, add your salt and pepper and shake again to coat the potatoes. Make sure you shut the bag before you shake it also. Obviously. Just making sure we’re all on the same page here. 😉

6

Line your baking sheet with foil, and spray it with cooking spray. Don’t want your potatoes sticking! Then, sprinkle some salt and pepper all over to make sure your potatoes have plenty of seasoning.

7

Spread out your potatoes on the baking sheet, and toss them in the oven!

8

Bake the potatoes for about 30-35 minutes. You want to make sure they’re crispy on the outside and tender on the inside.

9

Once they’re all done, pair them with your favorite entree and enjoy! My favorite thing to eat them with is the Yummy Baked Chicken Strips I recently posted about. The best thing is they’re both cooked at 400 degrees for 30 minutes! I don’t have the luxury of a double oven in our apartment, so being able to cook my entree and side in the oven at the same time is awesome.

10

I love these potatoes, and more importantly, so does my husband! They’re definitely our favorite side right now!

siggy3

Continue Reading

Yummy Baked Chicken Strips

0

Confession time: I have the palate of a (mature) 9-year old. And not a 9-year old on MasterChef Jr. Like, your average kid. I could eat chicken strips, fries, mac ‘n cheese, and Smuckers Uncrustables forever and be happy. However, I’m almost 3 times the age of my palate, so I try to force myself to branch out. Not to mention, fried chicken strips aren’t the healthiest meal choice. I decided to find a baked variation to make one of my favorite meals a little healthier, and I used this recipe from Your Life Uncommon. She says it tastes like KFC fried chicken, and while I disagree about that, this chicken has quickly become a favorite in our home! After I made it for the first time, my husband  asked for it again and again, so that’s always a good sign!

Here are the ingredients you will need:

Chicken Strips (I usually get 1 package, which contains 7-8. That’s the perfect amount for the 2 of us!)

Milk (You just need enough to submerge your strips in…probably a few cups worth)

1/2 tsp Salt
1 tbsp Season All
3/4 tsp Pepper
1 cup Flour
2 tsp Paprika (By the way, does Paprika make anyone else think of Blue’s Clues? No? Just me? Ok.)

1

Submerge your chicken strips in milk for at least 30 minutes. I’ve read that this helps tenderize the meat, but I honestly have no idea what that means. I’m pretty sure there’s some food science behind it, but as long as we know it makes the chicken better, who really cares? Moving on.

2

Go ahead and preheat your oven to 400 degrees. While your chicken is tenderizing (maybe…who knows…), prepare your seasoning mix.

3

After combining my ingredients, I always thoroughly mix it up with a fork to ensure all of the ingredients are evenly distributed. I don’t want one random strip only covered in paprika, and I’m thinking you don’t either.

4


After your chicken strips are done tenderizing (or just enjoying a random milk bath…), remove them from the fridge and shake off any excess milk. Then, coat each strip with the seasoning mix. I combine my seasoning mix in a mixing bowl (Who’d have thought?), so I can simply drop the strips in and cover them with seasoning.


5

Once all of your strips are coated, place them in a greased baking dish. I always use my Pyrex glass baking dishes, and so far they’ve worked great for me. Bake your strips for 15 minutes, then flip each strip and bake for 15 more minutes. I always cut into a strip after 30 minutes to ensure they’re fully cooked. Make sure your strips are cooked all the way through because raw chicken is totally gross.

6

Once your strips are done cooking, take them out, pair them with your favorite side, and enjoy!

7

You’ll notice I still have some “uncooked” seasoning mix on my strips. Oops. That happens to me sometimes. They’re still delicious, so if it happens to you too, don’t sweat it. Also, if you’re interested in those scrumptious potatoes in the picture, I’ll be posting a recipe for those soon, too! Hooray!

Hope you’re having a wonderful week!

siggy3


Continue Reading

Lemon Supreme Cookies

0

Happy Saturday everyone! I definitely don’t pride myself on being a very good cook, so whenever I find a simple recipe, I’m quick to give it a try! A while ago, I pinned a 3-ingredient Lemon Supreme Cookie recipe from Somewhat Simple, because…um…how can you mess up something with 3 ingredients? And even if you do, you’ll only be out a few bucks. 🙂 I went ahead and gave them a try, and I wanted to share the recipe with you, too!

First, gather your ingredients: A box of Lemon Supreme Cake Mix (I used Duncan Hines, but I’m sure any brand would work), 1 8oz tub of Cool Whip softened, and 1 egg. Yes, those are the only 3 ingredients you need!

Go ahead and preheat your oven to 350 degrees, as well.

1

2

Next, combine your ingredients in your mixer.

3

4


Once the ingredients are mixed, the dough will be thick and taffy-like…not creamy and smooth like I was expecting. Use a tablespoon to place large hunks of dough on a greased cookie sheet. I was able to make 19 cookies with this recipe, though your number may vary depending on your cookie size.

5

Bake your cookies at 350 degrees for 10 minutes. After you remove them from the oven, let them cool on the cookie sheet for about 10 minutes.

6

After your cookies are cooled (or heck, while they’re still warm), eat up!

7I found these cookies to be light and refreshing. They definitely aren’t my favorite cookies, but I’m not a huge fan of lemon (then why did you make lemon cookies, doofus?). I wouldn’t crave one of these like I would a chocolate chip or peanut butter cookie, but I think they would be great as part of a dessert buffet for a bridal or baby shower since they are quite airy and not too heavy.

If you give them a try, let me know what you think!

siggy3


Continue Reading

Chipotle Cilantro Lime Rice

headerI don’t know about y’all, but one of our favorite places to eat is Chipotle. It always tastes fresher than other “fast food” options, and we love their food. My husband orders their bowl, but he only asks for LOTS of rice and steak. He is always raving about how much he loves their rice, so one day I decided to try and recreate it at home. This recipe seems pretty close to what they offer in their restaurant, and it has become one of our “staple” sides for dinner. Plus, it’s almost impossible to screw up, which is always my #1 factor in selecting recipes.

The ingredients you need are:

  • 1 tbsp butter
  • 2/3 cup white basmati rice (I always use the Mahatma brand pictured below and love it)
  • Juice of 1 lime (remember to roll the lime firmly on the counter with your hands to get maximum juice out)
  • 1 cup water
  • 1/2 tsp salt
  • 2 tsp coarsely chopped fresh cilantro (I’ve left this out before if I don’t have any cilantro at home, and the rice still tastes great)

1 21. In a saucepan, melt the 1 tbs butter over low heat. Make sure to keep the butter moving, so it doesn’t burn.

2. Slice your lime and squeeze as much juice out as possible. Feel free to add additional limes if you enjoy the flavor.

3. Add 2/3 cup of basmati rice, and stir it in the lime juice and butter for 1 minute to ensure all of the grains are coated.

4. Add 1/2 tsp of salt and 1 cup of water. Raise heat and bring the mixture to a boil. Cover the pan, turn heat down to low, and simmer until the rice is tender and the water is absorbed. I’ve found that if I keep my stovetop on the lowest setting, this should take about 25 minutes.45. Once the rice is cooked, add in 2 tsp of fresh chopped cilantro. Again, I have left this step out before, and the rice is still delish. Also, feel free to add more cilantro if you’re a fan.

And you’re done! How simple was that? I know we enjoy beef with this flavor of rice, so I grabbed some marinated steak at our local grocery store, chopped it up, and cooked it on the stovetop over medium-high heat while my rice was simmering.

3This is a simple quick (about 30-minute) meal, that is a great standby. We’ve enjoyed this rice with chicken fajitas, baked chicken, tacos, and more! Like I said, it’s one of our favorites! Hope you like it, too!
5Siggy Autumn


Continue Reading

Yummy Breakfast Tacos

YummyBreakfastTacosA few weeks ago, I made a big batch of breakfast tacos to freeze, so Hoot Hubby and I could have a quick breakfast available on rushed mornings. Here are the quick easy steps that allow for an inexpensive, yummy breakfast for a couple of weeks!

First, gather your supplies. We kept it simple with eggs and sausage, but you could definitely add or substitute other ingredients that appeal to you (cheese, veggies, bacon, potatoes, etc.).

suppliesPrepare and combine your taco filling choices. First, I cracked and scrambled my 6 eggs. Next, I browned 1 pound of sausage. After my sausage was cooked through, I drained the fat and added my scrambled eggs. I continued stirring and combining my eggs and sausage until the eggs were completely cooked. Once my taco filling was finished, I set it to the side while I cooked my tortillas.

Steps 1 thru 4Hoot Hubby suggested making the tortillas for the breakfast tacos fresh. I wasn’t brave enough to make completely homemade tortillas, so I met him in the middle and bought a pack of the raw tortillas that you cook on the stove. The brand that I got was La Abuela, and I found it at Walmart. I’ve also used the HEB brand since then, and they also taste great.

Tortilla Collage


The raw tortillas are very fragile, so be careful! As you can see in the pictures above, I accidentally tore the first one I tried cooking. Don’t worry though, they still taste equally delicious. 🙂 Also note that the tortillas will burn if the stove is too hot (duh). The stove should be on medium to low heat, and the tortilla should be flipped each time it starts bubbling up. Also in the burnt tortilla picture you can see an uncooked spot on the left of the tortilla. When the stove is too hot the tortilla will burn in some spots while other parts remain raw. Make sure all of the tortilla is cooked evenly and none of these raw spots remain. It is okay if there is some slight browning on the tortilla as seen in picture three, just make sure the spots don’t get too dark.

IMG_1066Once the tortillas are cooked, spoon the desired amount of taco filling into the tortilla and roll it up! If you’re eating the breakfast tacos right away, this is your last step, enjoy!

However, we were making a large batch of tacos, so I proceeded to wrap two at a time into paper towels and then place them in Ziploc storage bags in the freezer. Once we were ready to eat them for breakfast, I simply popped them in the microwave for a minute to heat them up! Feel free to sprinkle in some cheese before you heat your tacos or dip them in some salsa for an extra kick!

microwave


Half a dozen eggs and a pound of sausage made about 16 breakfast tacos. You could make more (or less) depending on how much filling you use in each taco. Based on the cost of my supplies, I’d say these tacos are less than $.50 each to make! Not too bad, especially when you consider a Whataburger taquito is usually over $2! Hope you enjoy this easy breakfast idea! (And thanks to Hoot Hubby for the idea of making these yummy tacos!)

Siggy Autumn


Continue Reading