Yummy Baked Chicken Strips

0

Confession time: I have the palate of a (mature) 9-year old. And not a 9-year old on MasterChef Jr. Like, your average kid. I could eat chicken strips, fries, mac ‘n cheese, and Smuckers Uncrustables forever and be happy. However, I’m almost 3 times the age of my palate, so I try to force myself to branch out. Not to mention, fried chicken strips aren’t the healthiest meal choice. I decided to find a baked variation to make one of my favorite meals a little healthier, and I used this recipe from Your Life Uncommon. She says it tastes like KFC fried chicken, and while I disagree about that, this chicken has quickly become a favorite in our home! After I made it for the first time, my husband  asked for it again and again, so that’s always a good sign!

Here are the ingredients you will need:

Chicken Strips (I usually get 1 package, which contains 7-8. That’s the perfect amount for the 2 of us!)

Milk (You just need enough to submerge your strips in…probably a few cups worth)

1/2 tsp Salt
1 tbsp Season All
3/4 tsp Pepper
1 cup Flour
2 tsp Paprika (By the way, does Paprika make anyone else think of Blue’s Clues? No? Just me? Ok.)

1

Submerge your chicken strips in milk for at least 30 minutes. I’ve read that this helps tenderize the meat, but I honestly have no idea what that means. I’m pretty sure there’s some food science behind it, but as long as we know it makes the chicken better, who really cares? Moving on.

2

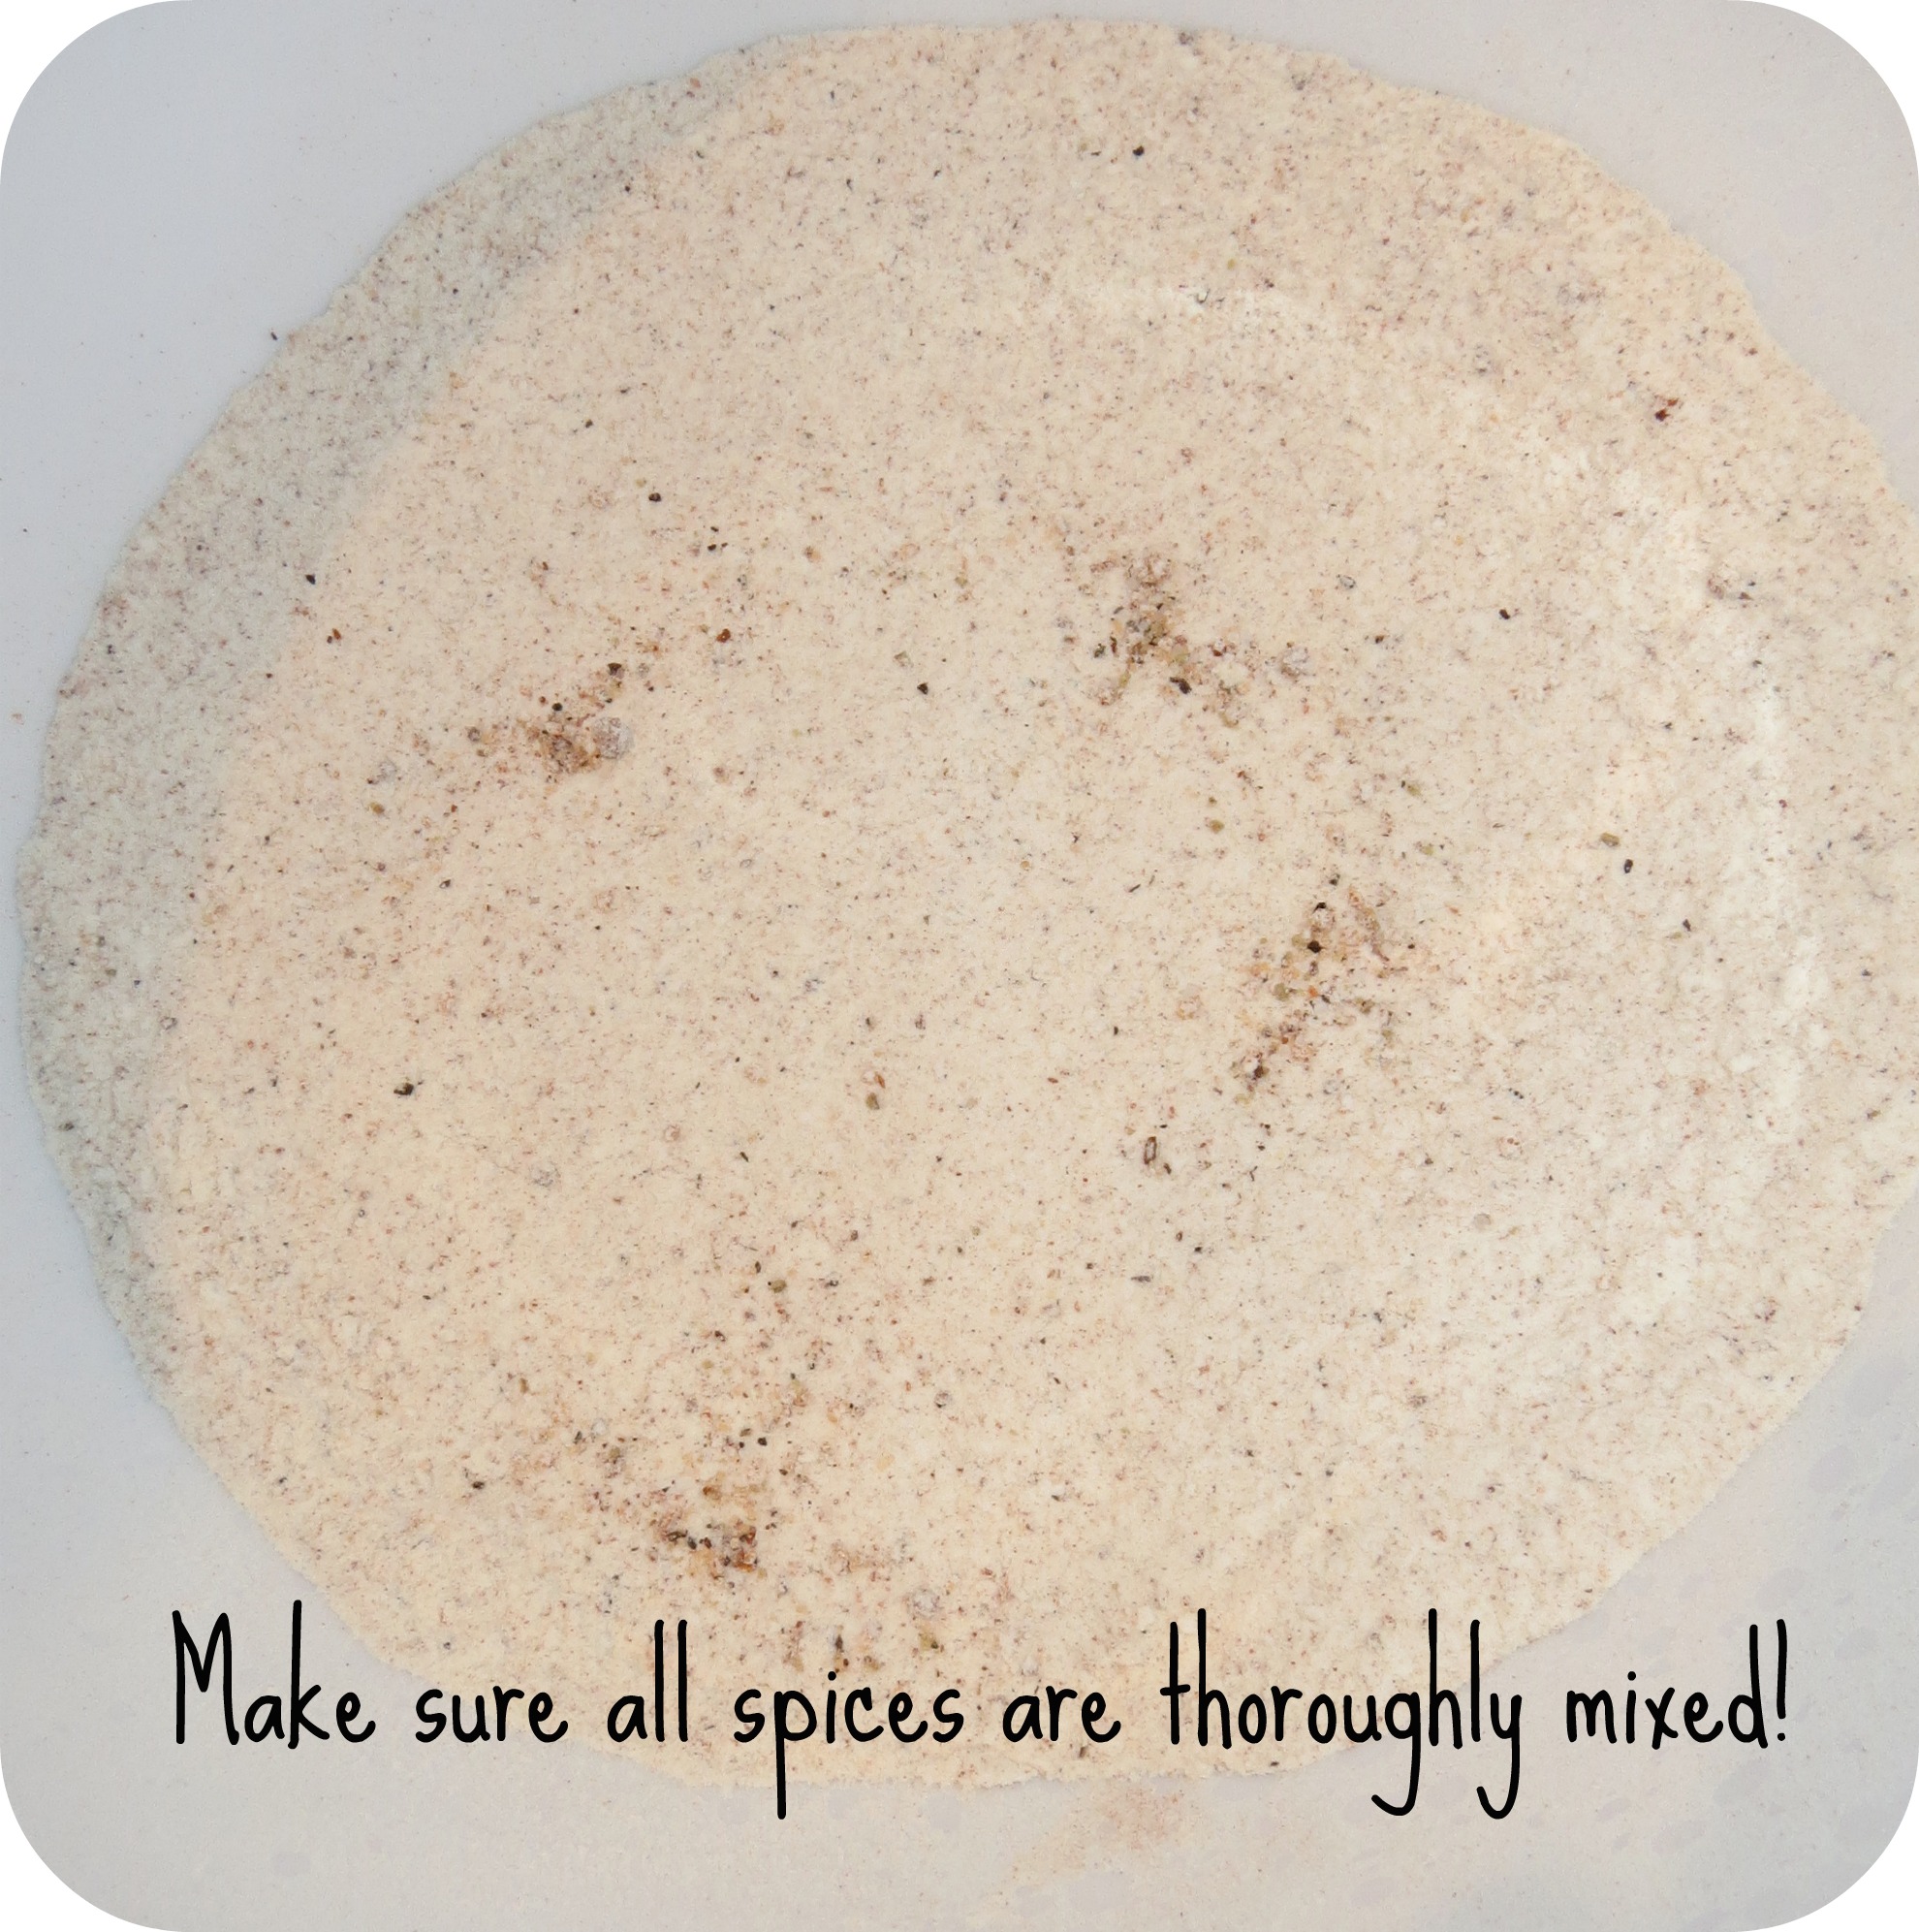
Go ahead and preheat your oven to 400 degrees. While your chicken is tenderizing (maybe…who knows…), prepare your seasoning mix.

3

After combining my ingredients, I always thoroughly mix it up with a fork to ensure all of the ingredients are evenly distributed. I don’t want one random strip only covered in paprika, and I’m thinking you don’t either.

4


After your chicken strips are done tenderizing (or just enjoying a random milk bath…), remove them from the fridge and shake off any excess milk. Then, coat each strip with the seasoning mix. I combine my seasoning mix in a mixing bowl (Who’d have thought?), so I can simply drop the strips in and cover them with seasoning.


5

Once all of your strips are coated, place them in a greased baking dish. I always use my Pyrex glass baking dishes, and so far they’ve worked great for me. Bake your strips for 15 minutes, then flip each strip and bake for 15 more minutes. I always cut into a strip after 30 minutes to ensure they’re fully cooked. Make sure your strips are cooked all the way through because raw chicken is totally gross.

6

Once your strips are done cooking, take them out, pair them with your favorite side, and enjoy!

7

You’ll notice I still have some “uncooked” seasoning mix on my strips. Oops. That happens to me sometimes. They’re still delicious, so if it happens to you too, don’t sweat it. Also, if you’re interested in those scrumptious potatoes in the picture, I’ll be posting a recipe for those soon, too! Hooray!

Hope you’re having a wonderful week!

siggy3


Continue Reading

Beauty Blurbs: L'Oréal Voluminous False Fiber Lashes

0

Hi y’all, apparently I have a mascara obsession because I have, yet another, mascara review. This review is of the L’Oréal Voluminous False Fiber Lashes mascara in Blackest Black (as always). This mascara claims to make “lashes appear fuller, longer, sculpted and curled at [every] angle. Clump-free. Flake-free. Smudge-free.” Eh…not so much.1

While I loved the super shiny, gold-mirrored packaging, I wasn’t such a fan of what it contained. L’Oreal was the first mascara I ever used, but once I switched to Maybelline Falsies, I haven’t really looked back. My mom still loves L’Oreal mascara though, so I figured I’d give this one a shot.

2

As you can see, the first coat went on pretty well. It defined my lashes some and added a little bit of length but not much volume or curl as advertised.

3

The second coat is where I saw some issues. There was clumping, and the fibers were visible and chunky. You can see above how there were visible gaps between the fibers and my lashes are pretty clumpy.4

L’Oreal Voluminous False Fiber Lashes mascara was okay. I always apply at least two coats of mascara for a fuller, longer lash look. However, this mascara doesn’t really allow me to do that. It might be okay for you, if you’re a one-coat kind of person, but I wouldn’t recommend it over other mascaras I’ve used. At around $8.99, it’s a little pricier than some drugstore mascaras, and I don’t think it’s worth the extra couple of bucks. If you want my advice, I say stroll straight past the L’Oreal section over to Maybelline! Is there a better L’Oreal product I’m missing? If you’re a fan, you can always snatch up a tube here.

I have some Ulta gift cards to spend thanks to my parents from Christmas and my birthday, so next week I’m hoping to go invest in some new makeup to review! I can’t decide if I should get tons of drugstore brand stuff or a couple of high end products…too much to choose from!!! I’m not good at making important decisions like this…

siggy3

Continue Reading

Lemon Supreme Cookies

0

Happy Saturday everyone! I definitely don’t pride myself on being a very good cook, so whenever I find a simple recipe, I’m quick to give it a try! A while ago, I pinned a 3-ingredient Lemon Supreme Cookie recipe from Somewhat Simple, because…um…how can you mess up something with 3 ingredients? And even if you do, you’ll only be out a few bucks. 🙂 I went ahead and gave them a try, and I wanted to share the recipe with you, too!

First, gather your ingredients: A box of Lemon Supreme Cake Mix (I used Duncan Hines, but I’m sure any brand would work), 1 8oz tub of Cool Whip softened, and 1 egg. Yes, those are the only 3 ingredients you need!

Go ahead and preheat your oven to 350 degrees, as well.

1

2

Next, combine your ingredients in your mixer.

3

4


Once the ingredients are mixed, the dough will be thick and taffy-like…not creamy and smooth like I was expecting. Use a tablespoon to place large hunks of dough on a greased cookie sheet. I was able to make 19 cookies with this recipe, though your number may vary depending on your cookie size.

5

Bake your cookies at 350 degrees for 10 minutes. After you remove them from the oven, let them cool on the cookie sheet for about 10 minutes.

6

After your cookies are cooled (or heck, while they’re still warm), eat up!

7I found these cookies to be light and refreshing. They definitely aren’t my favorite cookies, but I’m not a huge fan of lemon (then why did you make lemon cookies, doofus?). I wouldn’t crave one of these like I would a chocolate chip or peanut butter cookie, but I think they would be great as part of a dessert buffet for a bridal or baby shower since they are quite airy and not too heavy.

If you give them a try, let me know what you think!

siggy3


Continue Reading

A Pregnant Mom Care Package

My favorite (ok, and only) sister is currently halfway through her pregnancy with my 2nd nephew, Hudson. I could NOT be more excited for her, her husband, and my 1st nephew, Henry! Here she is a few weeks into this pregnancy…how pretty is she?0

When she surprised me with the news of baby #2 several months ago, I knew I wanted to do something special for her, but I couldn’t decide what. Typically, when people give gifts to moms-to-be, they give them something for the child like a onesie, stuffed animal, or blanket. That’s exactly what I did when she was pregnant with Henry. However, this time, I wanted to gift her something she could use herself. I was on a limited budget, so I had to put on my thinking cap on and get a little creative!

I decided on mailing her a small care package including some things every pregnant woman would enjoy along with some of her favorite things. Everything I purchased came from my local Target. Of course Target always comes through. Here’s a peek at what I sent!

1

Last time she was pregnant, my sister’s nails grew like crazy because of the vitamins she was taking. I figured this cuticle pen could help keep her nails nice and healthy.

2

Everyone loves eos lip balm, and this honeysuckle flavor smells DELISH. Unfortunately, I think Henry may have gotten a hold of this and taken a bite out of it…that should be proof it smells yummy though!;)

3

Everyone loves cozy socks, and I figured this snuggly pair would be perfect for relaxing around the house (in her rare free moments!).

6

It’s important for everyone to drink lots of water, but I’m sure it’s extra important when you’re expecting! My sis’s fave color is green, so I thought this neon Nalgene would be perfect and convenient to ensure she gets plenty of fluids.

4

Early in her pregnancy, she was craving lemonade all the time. These crystal light packets are easy to pour into her Nalgene to flavor up her water on the go.

5

I’m sure pregnancy hormones do crazy things to your skin, so I slipped in a trial size Jergens Ultra Healing lotion to make sure hers stays moisturized!
7

Caramel Apple Pops are one of my sister’s favorite candies, so I added in a bag for when she needed a sweet treat!

8

I cut out neon tags for all of the items and tied them on with curling ribbon. Each tag explained why I included that item in the package. Above, you can see the caramel apple tag (You don’t have to be healthy ALL the time! Treat yourself to a caramel apple pop! (or two!)), the cuticle pen tag (Thank your vitamins for your long nails! (And keep them healthy with this!)), and the Nalgene tag (Growing babies need lots of water…so do their moms! Drink up!).

I also included a card with a message about how excited I was for her. I couldn’t find any specific “pregnancy” cards, so I simply found one that expressed what I was thinking: “I love it when good things happen to good people. Especially when ‘good people’ means you.” Couldn’t be more true!

9

I think in the excitement of pregnancy news, people jump right to gifts for the baby. However, I wanted to make sure my sister had a few things to make pregnancy more enjoyable and hopefully more relaxing! After all, I’ll have the rest of his life to spoil my new nephew!

last

If I had a bigger budget, I would have loved to splurge on something like a massage or a cute maternity outfit (probably also from Target…they’ve got it all), but I’m happy with how this little care package turned out! Hopefully my sis liked it, too! Can’t wait for Hudson to make his arrival this May!

siggy3

Continue Reading

Disney World 2013: Part 7

Well, we’ve finally reached the end of our Disney World recap journey…we woke up on December 9th, shocked that our week of fun had flown by so fast! We packed up, checked our luggage for our flight, and headed to grab our last Pop Waffle for the foreseeable future…IMG_1879 IMG_1878After breakfast, we decided to hit up the arcade. We had the place to ourselves, and the thing that drew us in was this incredible PacMan Air Hockey table. Louis and I try to play a game (or 4) of air hockey every time we go to the movie theater, and we couldn’t pass up this awesome version. 

Yes, Louis completely stomped me (as usual) with a score of 1310 in comparison to my 640…oh well. I’ll get him next time!

We had a few credits left on our card after PacMan Air Hockey, so we decided to shoot a couple hoops…

IMG_1881IMG_1883

Louis totally beat me again! I guess my middle school basketball glory days are far behind me.

IMG_1884


Our last bit of time was spent hanging out in our hotel lobby admiring the different decade mementos and people watching. We were super envious of all of the people checking in and just beginning their vacation as ours was drawing to a close…


IMG_1877 IMG_1874 IMG_1876


Before we knew it, we needed to head out front to wait for our Magic Express Bus to take us to the airport…


IMG_1886


How was it already time to leave!?!


IMG_1887


We got to the airport, grabbed some McDonald’s and waited around for our flight. When we finally made it back to Austin, we took the shuttle to our car. Or so we thought! We were dropped off on the WRONG side of the parking lot! It was HUGE, and we spent about 30 minutes wandering around in the middle of the night in 30 degree weather before we finally found my car! After that it was a quick drive back to San Antonio, and we returned to our cozy apartment.

Each of our trips to Disney World have been special and unique, and our 4th trip was no exception! The time we spend together at Disney is always fun, relaxing, exhausting, magical, and wonderful! I can’t wait until we get to go back again, and I’m so thankful we had this fun week to enjoy together.

siggy3


Catch up on the rest of our trip here!

Disney World 2013: Part 1

Disney World 2013: Part 2

Disney World 2013: Part 3

Disney World 2013: Part 4

Disney World 2013: Part 5

Disney World 2013: Part 6

Continue Reading